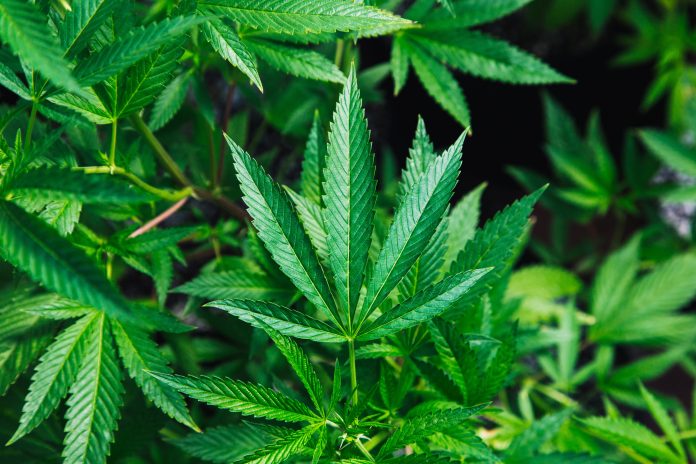
Nibbling edibles is easily one of the most enjoyable ways of dosing with cannabinoids. Whether you are getting high for fun or using THC and CBD for medical treatment, enjoying a flavorful meal or a sweet treat is just a bit more exciting than smoking a pre-roll or dropping oil under your tongue. Edibles simply provide more variation in the experience of dosing, which many frequent stoners enjoy. Find about the DIY of Cannabis Butter for making your own edibles.
Unfortunately, pre-made edibles can be expensive, and due to state guidelines, many dispensaries are unable to carry a vast assortment of edible options. If you want to experiment with different edibles, you are going to have to make them yourself — and the best place to start is making your own Cannabis Butter.
Table of Contents
Why Cannabutter?
Many inexperienced with cannabis in the kitchen might imagine cooking with weed to consist of tossing little nugs into any old recipe — but that simply isn’t the case. While raw cannabis is edible, it isn’t exactly enjoyable; it is densely fibrous, making it difficult to chew, and it doesn’t taste particularly good. Perhaps more importantly, chomping on raw flower won’t get you high because you need to introduce heat to make cannabinoids like THC and CBD useful to your body.
By infusing your bud into Cannabis Butter, you make a cannabinoid-rich product while removing the tough fibers and activating the cannabinoids. Butter is much easier to work into a wide variety of recipes than plant material, and its flavors are a bit more subtle. Thus, making cannabutter is a crucial step for DIY edibles.
Step 1: Buying Bud
The first step to making Cannabis Butter is also the step most likely to be overlooked: buying the right marijuana strain. When you visit a Portland dispensary — or any dispensary near you that sells quality doja — you need to know what you want from your edible experience. The bud you select is going to transfer all its useful compounds into the butter, which means you need to understand and enjoy the cannabinoid content and terpene profile of the strain. It might be best to purchase a strain you are familiar with and enjoy, but some strains commonly used in homemade edibles include:
- White Widow
- Northern lights strain
- Blue Dream
- Purple Power
- Orange Crush
- OG Kush
- Skywalker
- Super Lemon Haze
- Sour Diesel
- Trainwreck
Step 2: Decarboxylating
Next, you need to take the step of heating up your cannabis, a process called decarboxylation. First, you need you break apart your bud as you would if you were rolling a joint, using a grinder or a pair of scissors. You don’t want the bud to be so fine that it can travel through cheesecloth. Then, spread the plant material thinly in a glass baking dish or sheet pan and place it in an oven heated to 220 degrees Fahrenheit for 20 to 40 minutes, gently mixing every 10 minutes or so. When the color of the weed changes from bright green to deep brownish green, it is ready to come out.
Step 3: Infusing
Here is what you will need for the next step:
- 1.5 cups water
- 8 ounces of clarified butter or melted butter
- .5 ounce decarboxylated cannabis
- Medium saucepan with lid
- Wooden spoon
- Thermometer
Mix the water and butter in the saucepan, and add the cannabis. Stir well using the wooden spoon, and cover the pot with a lid. Let the mixture gently simmer for four hours, stirring every half hour to prevent the butter from burning. The temperature of the mixture should not exceed 180 degrees Fahrenheit.
Step 4: Straining
After four hours of heat, your cannabis butter mixture needs to be strained. Place a couple layers of cheesecloth over the container in which you want to store your cannabutter. Carefully pour the hot cannabis-butter mixture through the cheesecloth. For increased purity, you might want to pour the mixture through cheesecloth several times.
Step 5: Chilling
Your cannabutter needs to cool to room temperature before you can use it, and you might want to let it chill in the refrigerator or freezer. As long as your container seals well, you should be able to store it in the fridge for continued use over the course of six months. Cannabutter that has gone bad will smell rancid or change color, and you should not use it.
Step 6: Using
Once your cannabutter has cooled, you can use it as you would normal butter! You can mix it into baking recipes, spread it on toast or use it to fry a grilled cheese when you get the munchies.
Making cannabutter is so easy, and having cannabutter in the fridge can be incredibly convenient. The sooner you try making cannabutter at home, the sooner you will have access to any edible your heart desires.


